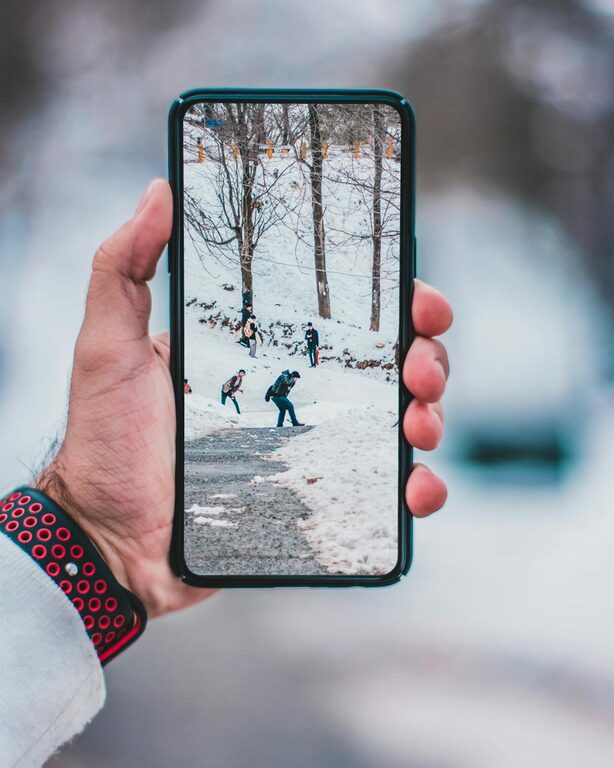
Photography has become an everyday activity for many of us thanks to the convenience and quality of smartphone cameras. Whether you want to capture a scenic view, a family moment, or simply express your creativity, learning some beginner tips can dramatically improve your phone photos. This guide covers easy-to-follow advice that will help you make the most of your mobile device’s camera and take better pictures effortlessly.
Understanding Your Phone Camera
Before diving into photographic techniques, it’s helpful to familiarize yourself with your phone’s camera features:
– Explore Camera Settings: Most phones offer options like HDR, gridlines, and different shooting modes. Spend a few minutes exploring what these do.
– Use Gridlines to Aid Composition: Turning on the grid (usually a 3×3 overlay) helps you apply the “rule of thirds,” a basic photography principle for balanced and appealing shots.
– Learn Focus and Exposure Controls: Tap the screen where you want your camera to focus. Most phones let you adjust exposure (brightness) by sliding up or down after focusing.
Composition Tips for Better Photos
Good composition can make a huge difference in how your photos look. Here are some beginner-friendly composition tips:
1. Apply the Rule of Thirds
Imagine dividing your frame into three equal parts horizontally and vertically. Position your main subject along these lines or at their intersections. This creates a naturally balanced photo that’s pleasant to the eye.
2. Mind Your Background
Look behind your subject before taking a shot. Cluttered or distracting backgrounds can draw attention away from the main focus. Try to choose simple, clean backgrounds or use a wider aperture effect (portrait mode) to blur backgrounds.
3. Look for Leading Lines
Lines in your environment—like roads, fences, or shadows—can guide the viewer’s eye toward your subject. Incorporating these into your photo adds depth and interest.
4. Experiment with Angles
Don’t always shoot from eye level. Try getting lower or higher for a unique perspective. For example, shooting a flower from below against the sky can create a dramatic look.
Lighting: The Key to Great Photos
Good lighting is essential in photography. Here are some beginner tips related to light:
– Shoot in Natural Light When Possible: Daylight, especially in the early morning or late afternoon, produces soft and warm tones.
– Avoid Harsh Midday Sun: Strong overhead sunlight can cause unwanted shadows and highlights. If you must shoot at noon, look for shaded areas.
– Use Backlighting Creatively: Position your light source behind your subject to create silhouettes or glowing edges.
– Use Your Phone’s Flash Sparingly: Built-in flashes can make photos look flat or washed out. Instead, try adjusting your exposure or moving to a better-lit area.
Steady Your Phone for Sharp Images
Blurry photos are a common problem for beginners. Here’s how to keep your images sharp:
– Hold Your Phone with Both Hands: This provides greater stability.
– Use a Solid Surface or Tripod: Rest your phone on a table or use an affordable tripod or phone stand.
– Use Timer or Voice Control: This helps reduce shake caused by tapping the shutter button.
– Avoid Digital Zoom: Zooming in digitally often reduces quality. Instead, move physically closer to your subject if possible.
Explore Camera Modes and Features
Modern smartphones often include helpful modes that can improve your photos:
– Portrait Mode: Creates a blurred background to make your subject stand out.
– Panorama: Great for capturing wide landscapes.
– Night Mode: Enhances low-light photos by taking longer exposures.
– Pro/Manual Mode: Allows adjusting settings like ISO and shutter speed if you want more control.
Play around with these features to find what works best for the kinds of photos you enjoy.
Simple Editing to Enhance Your Photos
Basic editing can elevate your images without much effort. Many phones have built-in editors, or you can download free apps like Snapseed or VSCO. Here are beginner-friendly editing tips:
– Crop for Better Composition: Remove distracting elements around the edges.
– Adjust Brightness and Contrast: Make your photo pop by balancing light and shadow.
– Saturation and Warmth: Enhance colors but avoid overdoing it for a natural look.
– Sharpen Slightly: A small increase in sharpness can improve details.
Remember that less is more—edit gently to maintain the authenticity of your photo.
Practice Regularly and Review Your Work
The best way to improve is by taking photos often and reflecting on the results. Ask yourself:
– What works well in this photo?
– What could I improve next time?
– What do I like about the composition or lighting?
Sharing your photos with friends or photography communities online can also provide helpful feedback and inspiration.
Final Thoughts
Taking better phone photos doesn’t require expensive gear or advanced skills. With a bit of practice and attention to composition, lighting, and steadiness, your images will become more captivating and enjoyable to create. Start experimenting today and watch your photography improve one click at a time!
Happy shooting!


